The Ultimate Guide to Crawl Space Moisture Control
Crawl spaces provide convenient access to plumbing, electrical wiring, ductwork, and other building systems. However, they can also become one of the dampest areas of a home—especially in Valdosta and other parts of South Georgia.
Moisture from the soil, humid outdoor air, plumbing leaks, and poor drainage can collect beneath the home. If these conditions are not corrected, they may contribute to mold growth, damaged insulation, wood deterioration, musty odors, pest activity, and problems with the flooring above.
Effective crawl space moisture control begins with identifying where the water is coming from and choosing a solution that addresses the entire space.
Why Crawl Spaces Get Damp
Crawl space moisture rarely comes from a single source. Several conditions may work together to keep the area humid or wet.
Common sources include:
- Moisture evaporating from exposed soil
- Humid outdoor air entering through foundation vents
- Rainwater collecting near the foundation
- Plumbing or drain-line leaks
- Condensation on ductwork and pipes
- Poor grading around the home
- Clogged gutters or short downspouts
- Groundwater entering after heavy rain
- Inadequate or damaged vapor barriers
Because much of the crawl space is hidden, these problems can continue for months before they become noticeable inside the home.
How Ground Moisture Enters a Crawl Space
Even when the soil appears dry, it can release water vapor into the air above it.
In an uncovered crawl space, this moisture rises from the ground and becomes trapped beneath the floor system. Wood framing, insulation, ductwork, and other surfaces may absorb or collect that moisture.
Over time, elevated humidity can contribute to:
- Mold or mildew
- Sagging insulation
- Rusted metal components
- Warped hardwood floors
- Soft or damaged subflooring
- Musty odors
- Wood decay
- Increased pest activity
Covering exposed soil is one of the most important steps in reducing crawl space moisture.
Why Open Vents Can Be a Problem in South Georgia
Traditional vented crawl spaces were designed to allow air to move beneath the home. In a dry climate, ventilation may sometimes help moisture escape.
South Georgia presents a different challenge.
During the summer, outdoor air is often warm and humid. When that air enters a cooler crawl space, it may reach surfaces that are cold enough for condensation to form.
Moisture commonly appears on:
- Air-conditioning ducts
- Water lines
- Floor joists
- Subflooring
- Metal fasteners
- Fiberglass insulation
Instead of drying the crawl space, open vents may introduce additional moisture during humid weather.
The right approach depends on the home’s design, drainage, mechanical systems, and current moisture conditions. Vents should not be sealed without first evaluating the entire crawl space.
Signs Your Crawl Space Has a Moisture Problem
You may notice warning signs inside the home before you see water beneath it.
Watch for:
- Musty odors in living areas
- Cupped, crowned, or buckled hardwood floors
- Soft or uneven flooring
- High indoor humidity
- Condensation around vents
- Increased allergy-like irritation
- Damp or falling insulation
- Visible mold or discoloration
- Rust on pipes, ducts, or fasteners
- Standing water after rain
- Termite or insect activity
A musty smell should not be ignored simply because no visible mold is present. Moisture may be trapped behind insulation or on hidden framing.
Start with a Thorough Crawl Space Inspection
Before choosing a moisture-control system, the crawl space should be carefully inspected.
A professional evaluation may include checking:
- Soil and foundation walls for standing water
- Floor joists and subflooring for elevated moisture
- Plumbing lines for leaks
- Ductwork for condensation or damaged insulation
- Vapor barriers for tears or missing sections
- Gutters and downspouts
- Exterior grading
- Foundation vents and access doors
- Drainage systems
- Visible mold or wood deterioration
Moisture meters, humidity monitors, and thermal imaging may help identify damp areas that are not immediately visible.

Solution 1: Install a Ground Vapor Barrier
A vapor barrier is one of the most important components of crawl space moisture control.
This system typically involves placing a durable polyethylene sheet over the exposed soil. The material physically reduces the amount of water vapor that can rise from the ground into the crawl space.
An effective installation should:
- Cover the exposed soil
- Overlap at the seams
- Fit around piers and supports
- Be secured to limit movement
- Avoid large gaps or exposed areas
- Use material durable enough for the space
Thin plastic may tear easily during service work or routine access. A thicker reinforced liner may be more appropriate for crawl spaces that are entered frequently.
A basic vapor barrier can significantly reduce ground moisture, but it will not correct active leaks, standing water, poor drainage, or humid air entering through vents.
Solution 2: Consider Full Crawl Space Encapsulation
Encapsulation provides a more comprehensive approach to moisture control.
A typical encapsulation system may include:
- Sealing foundation vents
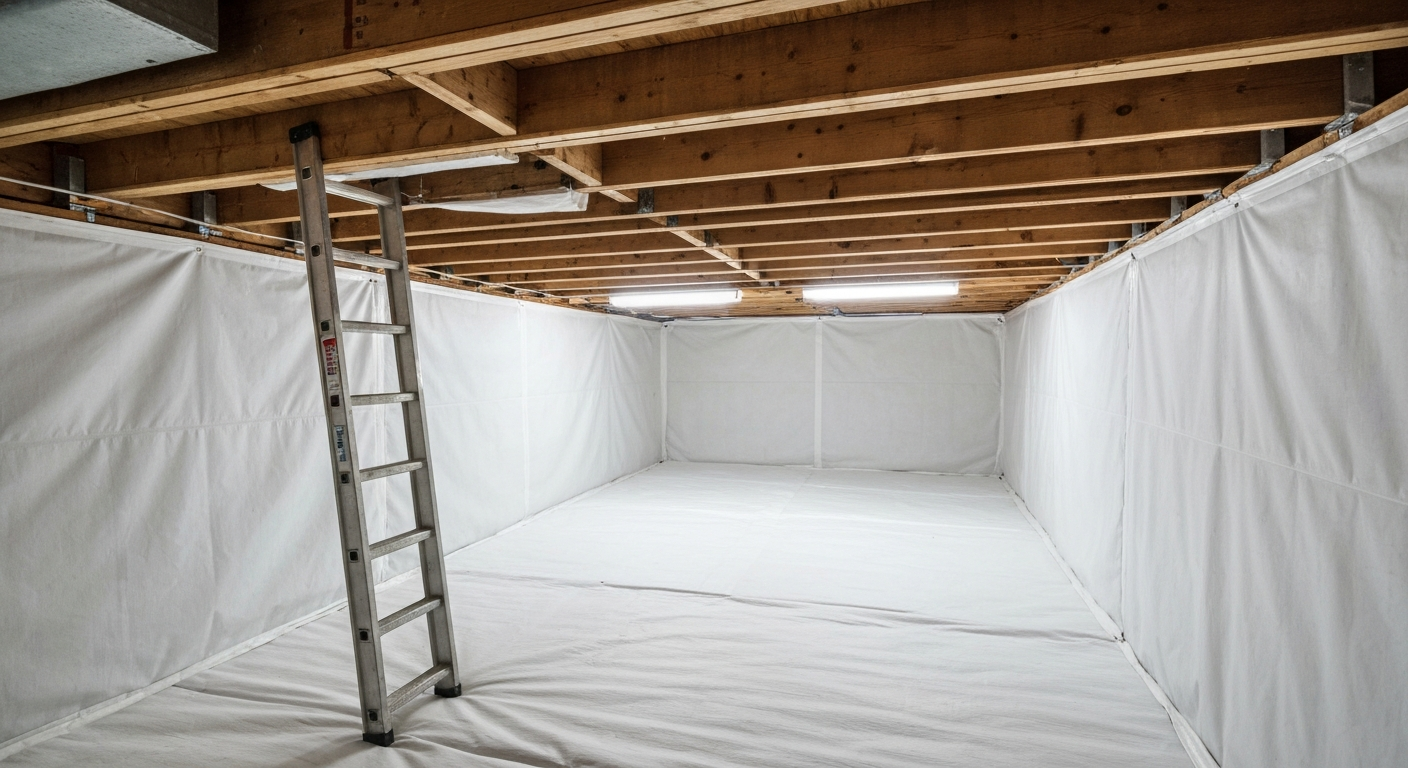
- Installing a heavy-duty ground liner
- Extending the liner up foundation walls
- Sealing seams and penetrations
- Sealing the crawl space access door
- Addressing drainage problems
- Installing a dedicated dehumidifier
- Monitoring humidity levels
The goal is to separate the crawl space from damp soil and humid outdoor air, creating a cleaner and more controlled environment beneath the home.
Encapsulation may be especially helpful for properties with recurring humidity, mold, condensation, or flooring problems.
However, the space should not simply be sealed while water is still entering. Plumbing leaks, drainage problems, standing water, and damaged materials should be corrected first.
Solution 3: Correct Exterior Drainage
Rainwater should move away from the foundation rather than collect around or beneath the home.
Begin by inspecting the gutters and downspouts.
Make sure:
- Gutters are clear of leaves and debris
- Sections are properly sloped
- Seams and joints are not leaking
- Downspouts are securely connected
- Water is not discharging beside the foundation
- Extensions direct water away from the home
Where site conditions allow, downspouts may need to discharge water approximately 6 feet or more from the foundation. The correct distance depends on the grading, soil, and surrounding landscape.
The ground around the home should also slope away from the foundation. Low areas that collect water may need to be filled or professionally regraded.
Solution 4: Repair Plumbing Leaks Promptly
A slow plumbing leak can keep a crawl space damp even when the vapor barrier and drainage are in good condition.
Check accessible areas beneath:
- Bathrooms
- Kitchens
- Laundry rooms
- Water heaters
- Refrigerators
- Dishwashers
- Heating and cooling equipment
Look for:
- Dripping water
- Dark stains
- Wet insulation
- Corroded fittings
- Damp soil
- Mineral deposits
- Soft or discolored wood
The leak should be repaired before mold cleanup, insulation replacement, or encapsulation work begins.
Solution 5: Control Condensation on Ductwork
Air-conditioning ducts often become much cooler than the surrounding crawl space air. When warm, humid air reaches those cold surfaces, condensation can develop.
Damaged or missing duct insulation may make the problem worse.
A heating and cooling professional can inspect the system for:
- Torn or wet insulation
- Loose duct connections
- Air leaks
- Condensation around equipment
- Blocked drain lines
- Improper airflow
- Unsealed penetrations
Repairing ductwork can help reduce condensation while improving indoor comfort and energy efficiency.
Solution 6: Install a Crawl Space Dehumidifier
A dedicated crawl space dehumidifier can help maintain stable humidity after the primary moisture sources have been addressed.
Unlike a portable household unit, crawl space equipment is designed to operate in a more demanding environment.
The system should be:
- Properly sized for the space
- Installed in an accessible location
- Connected to a reliable drainage method
- Maintained regularly
- Paired with humidity monitoring
A dehumidifier should not be used as a substitute for repairing leaks, drainage failures, or standing water.
Solution 7: Address Standing Water
A vapor barrier should not be installed over an active water problem without first correcting the source.
Standing water may result from:
- Poor exterior grading
- Foundation seepage
- High groundwater
- Broken plumbing
- Improper downspout discharge
- Stormwater entering through vents or access doors
Depending on the property, the solution may involve:
- Drainage improvements
- French drains
- Interior perimeter drains
- Sump pumps
- Foundation repairs
- Regrading
- Gutter modifications
A drainage professional can determine which system is appropriate for the site.
Should Wet Insulation Be Replaced?
Fiberglass insulation may sag, fall, or lose effectiveness when it becomes damp. It can also conceal moisture and mold on the wood above it.
Insulation may need to be removed when it is:
- Wet
- Mold-contaminated
- Compressed
- Falling from the floor system
- Damaged by pests
- Improperly installed
The moisture problem should be corrected before replacement insulation is installed. Otherwise, the new material may become damaged as well.
What to Do If Mold Is Already Growing
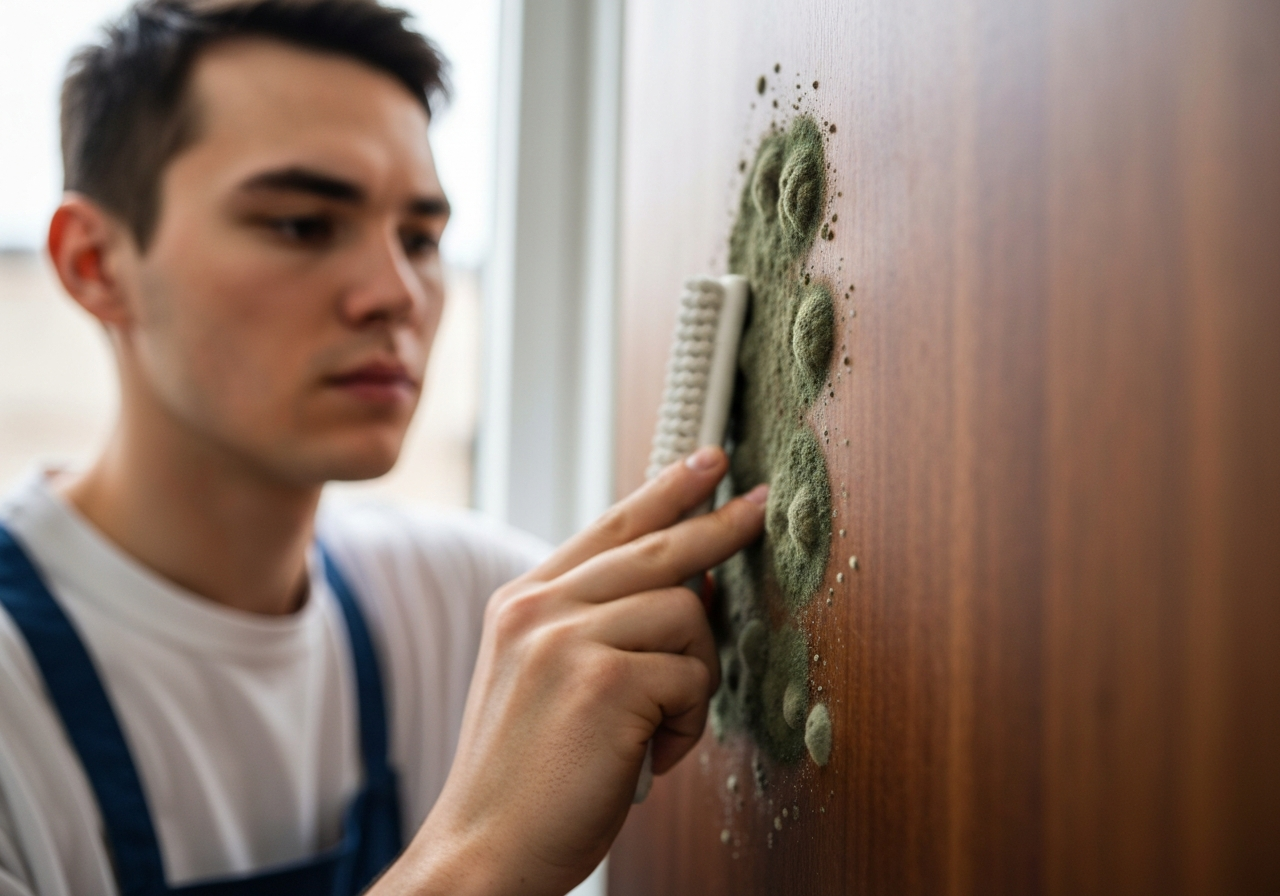
Avoid brushing, scraping, or directing fans toward a large area of suspected mold. Disturbing contaminated material may spread spores and debris through the crawl space or into the home.
Professional mold remediation may involve:
- Locating and repairing the moisture source
- Containing the work area
- Removing contaminated insulation or porous material
- Cleaning salvageable framing
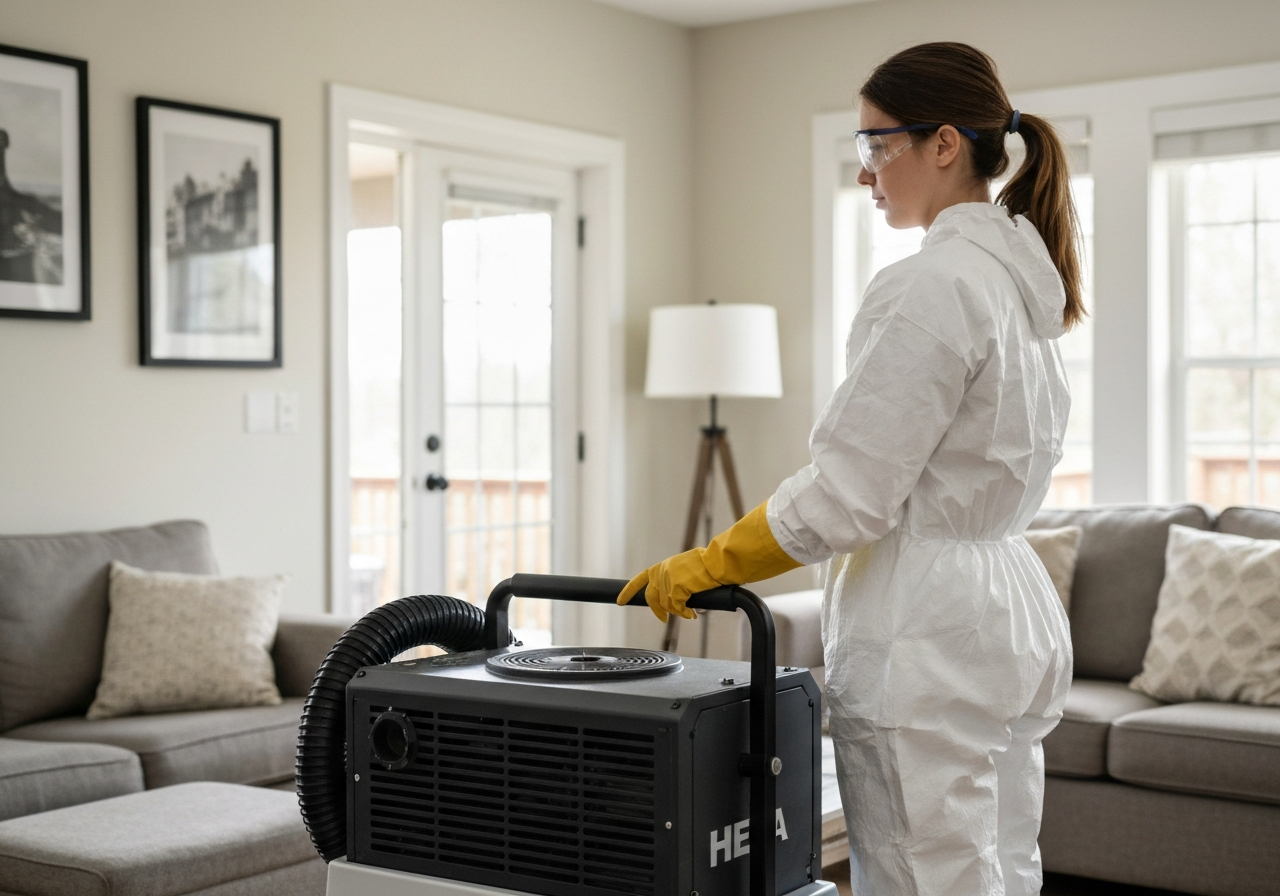
- Using HEPA-filtered equipment
- Drying the structure
- Monitoring wood moisture and humidity
- Confirming that moisture-control measures are working
Cleaning visible growth without correcting the moisture source may allow mold to return.
Vapor Barrier vs. Encapsulation
A vapor barrier and full encapsulation are related, but they are not the same.
A vapor barrier primarily covers the exposed soil to reduce ground evaporation.
Encapsulation usually includes a more complete system that seals the floor, walls, vents, seams, penetrations, and access points. It may also include drainage, insulation, and mechanical dehumidification.
A basic vapor barrier may be sufficient when ground moisture is the primary concern and the crawl space is otherwise dry.
Encapsulation may be more appropriate when the home has persistent humidity, condensation, mold growth, damaged insulation, or recurring flooring problems.
How to Maintain a Dry Crawl Space
Moisture control requires ongoing maintenance.
Inspect the crawl space periodically and after:
- Heavy storms
- Plumbing failures
- Tropical weather
- Foundation repairs
- Heating and cooling service
- Gutter or roof damage
Routine maintenance should include:
- Cleaning gutters
- Checking downspout extensions
- Inspecting the vapor barrier
- Monitoring humidity
- Replacing dehumidifier filters
- Checking drain lines
- Looking for pests
- Inspecting plumbing and ductwork
- Watching for standing water
Early detection can prevent a small issue from becoming a major repair project.
Protect Your Valdosta Home from Crawl Space Moisture
Crawl space moisture control requires more than placing plastic over the soil. A complete solution should address ground vapor, humid outside air, drainage, plumbing leaks, duct condensation, and indoor humidity.
For many Valdosta homes, the best approach begins with a durable vapor barrier and improved exterior drainage. Properties with ongoing moisture problems may benefit from full encapsulation and a dedicated dehumidifier.
Musty odors, buckled floors, falling insulation, visible mold, and standing water should not be ignored. A professional crawl space inspection can identify the source of the problem and help determine the most effective long-term solution for your home.
Need a Professional Assessment?
Don't let crawl space moisture or hidden mold compromise your home. Contact Valdosta Georgia Mold Response today for a thorough inspection and honest advice.